Installing on Mac Computer
For Managed Staff Laptops
Installing our UniFlow print software has become much easier for our laptops managed by Mosyle.
Step 1
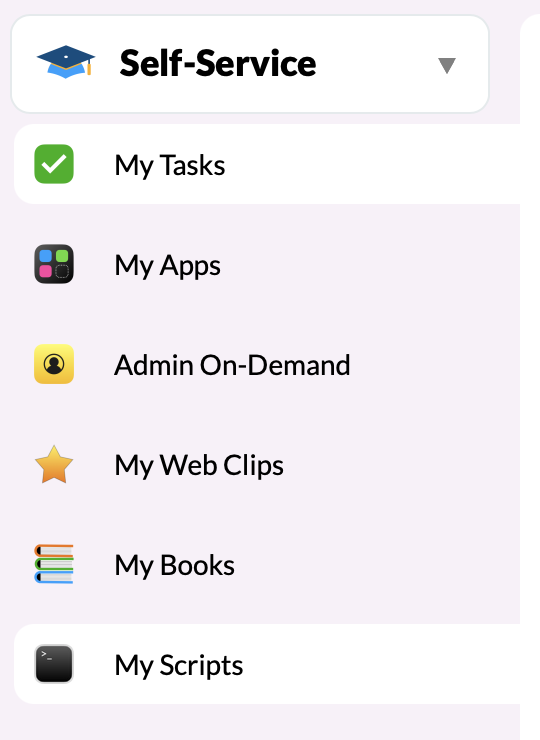
Open your Mosyle Manager application and go to Self-Service.
Step 2
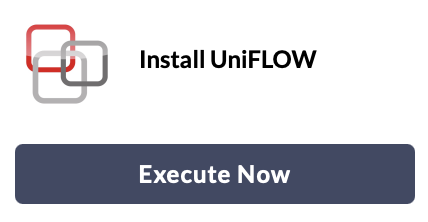
On the list under Self-Service you should see "My Scripts". Click on this and there should be an option to Install UniFLOW with an Execute Now button. Click this button and it will start to download and install.
Step 3
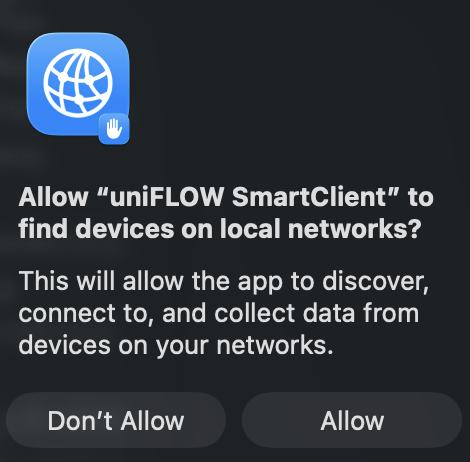
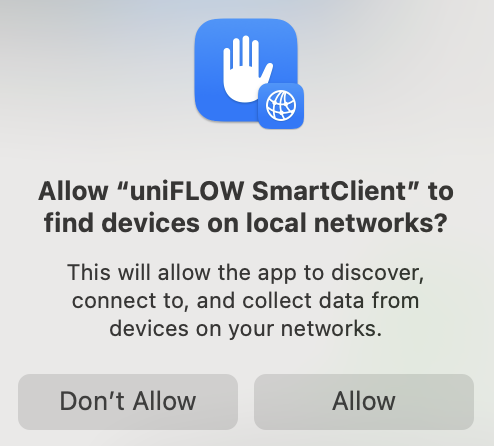
Once it installs it should automatically pop up the window to log in. If it doesn't, check your applications to make sure it installed properly. If it asks to find devices on local networks click Allow.
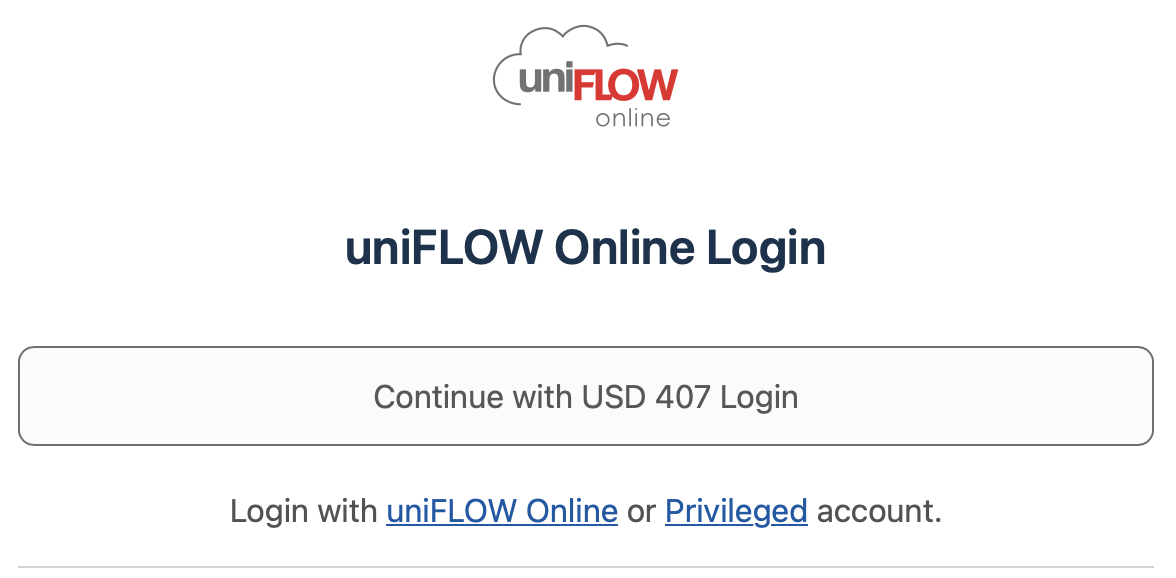
You will need your Microsoft login to log into UniFLOW. If you don't know your Microsoft login please submit a ticket.
Step 4
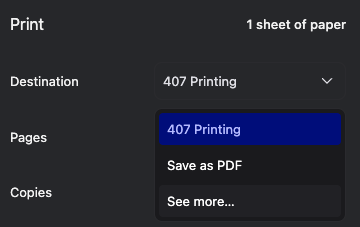
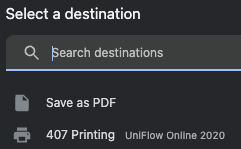
After logging in you should be able to select 407 Printing from Destination. If it doesn't appear, click See More....
That's it! You should be set for printing from here.
Locating your PIN for the copier
When you're logged in at https://print407.us.uniflowonline.com/ look for the Identities section and to the right of PIN there are three dots that appear when you hover. Click these and then click Show PIN. This PIN is randomly generated and I.T. is unable to see it.
For Un-Managed MacBooks.
Un-Managed devices, like personal laptops, still require a district Microsoft account.
Step 1
Go to https://print407.us.uniflowonline.com/ and click on Continue with USD 407 Login.
Enter your 407 email and your Microsoft password.
If you don't know what your Microsoft password is, submit a ticket to have it reset for you.
Once you are logged in you should see your dashboard. You may want to bookmark this page for future use. The two most useful sections here are your print queue and identities. Identities includes your copier PIN code that is randomly generated. The print queue is useful for when you send something to print and it doesn't show up on the copier you can check here if it made it to the cloud. If it doesn't show here in your queue check out our trouble shooting steps to resolve the issue.
Step 2
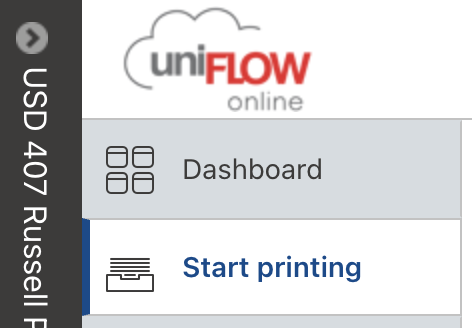
To install the Uniflow Smart Client click on Start printing on the left side of your dashboard.
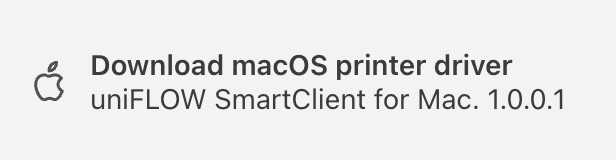
Then click the option for Download macOS printer driver.
Once the download is complete, open and run the installer. You will need administrator privileges to do this. See Request Administrator Access on how to do so.
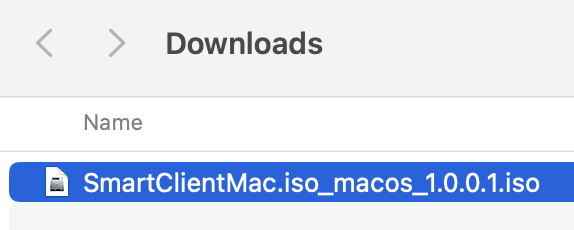
Go to your downloads and double click on SmartClientMac.iso
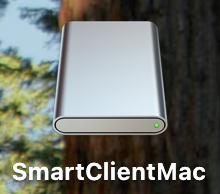
A new icon will appear on your desktop. Double click SmartClientMac
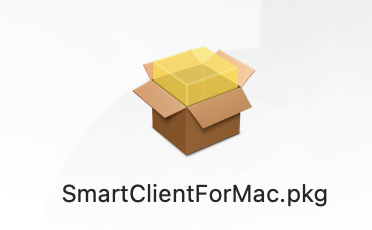
In the window that pops up double click on the installer package file.
Once the installer opens this is where you would want to request Admin On-Demand so that your password will work when prompted.
The installer may ask to find devices on local network. Select Allow.
The next window that pops up should be SmartClient login. Click on Continue with USD 407 Login. You should already be logged in on the print407.us.uniflowonline and will see a message that says All Done. Once this displays your Uniflow icon should appear in the menu bar next to the volume icon or wifi icon.

You are now ready to print.
Step 3
When you go to sddsprint select 407 Printing as the desination.
If the 407 Printing option doesn't appear, click See more... and the next screen should have 407 Printing listed.
From here you should be able to print as normal.